Table of Contents
- Why a 30-Day Yoga Program Works for Beginners
- Week 1: Build Your Foundation with Floor Poses
- Week 2: Add Standing Poses and Increase Duration
- Week 3: Introduce Balance Transitions and Hip Openers
- Week 4: Link Everything into a Full Flow
- Tracking Progress and Modifying Poses Safely
- Frequently Asked Questions
- Start Today
- Related Articles
Key Takeaways
- A consistent 30-day yoga program builds flexibility, balance, and body awareness with just 15–25 minutes daily.
- Start with floor poses in week one, add standing poses in week two, introduce flows in week three, and combine everything in week four.
- Use modifications like bent knees or wall support to avoid pain and prevent injury.
- Track your daily practice to identify patterns and celebrate small improvements in range of motion.
- Breathing techniques—especially ujjayi and diaphragmatic breath—are essential for calming the nervous system during poses.
Why a 30-Day Yoga Program Works for Beginners
Starting a new fitness routine can feel overwhelming, but a structured 30-day program removes guesswork and builds consistency. Research shows that performing a new habit for 21 to 30 days increases the likelihood of it sticking. For yoga beginners, this timeframe allows your body to adapt to new ranges of motion without risking injury.
This program requires only a yoga mat, comfortable clothing, and 15 to 25 minutes per day. You will not need blocks or straps initially—substitute with a firm pillow or a towel if needed. Each week introduces slightly longer holds and more challenging poses, progressing from basic floor stretches to standing balances by day 30.
You will also learn three foundational breathing techniques: diaphragmatic breath (belly breathing), ujjayi breath (ocean breath), and alternate nostril breathing. Spend the first two minutes of each session practicing slow, controlled inhales and exhales to calm the nervous system before movement.
Week 1: Build Your Foundation with Floor Poses
During week one, focus on seated and supine (lying on back) poses to establish proper alignment and breath awareness. Each session lasts 15 minutes. Perform the following sequence daily for days 1 through 7:
- Cat-Cow Stretch (5 cycles): On hands and knees, alternate between arching your back (cow) and rounding it (cat). Move slowly with each inhale and exhale.
- Child’s Pose (hold 60 seconds): Kneel, sit back on your heels, and extend arms forward on the mat. Breathe deeply into the lower back.
- Seated Forward Fold (hold 45 seconds): Sit with legs straight, hinge at the hips, and reach for your shins or feet. Keep a slight bend in the knees if needed.
- Supine Twist (hold 30 seconds each side): Lying on your back, draw one knee to your chest and gently guide it across your body. Keep shoulders flat.
End each session with Corpse Pose (Savasana) for 3 minutes of stillness. Track how your hips and lower back feel; tightness is normal, but sharp pain means ease off.
Week 2: Add Standing Poses and Increase Duration
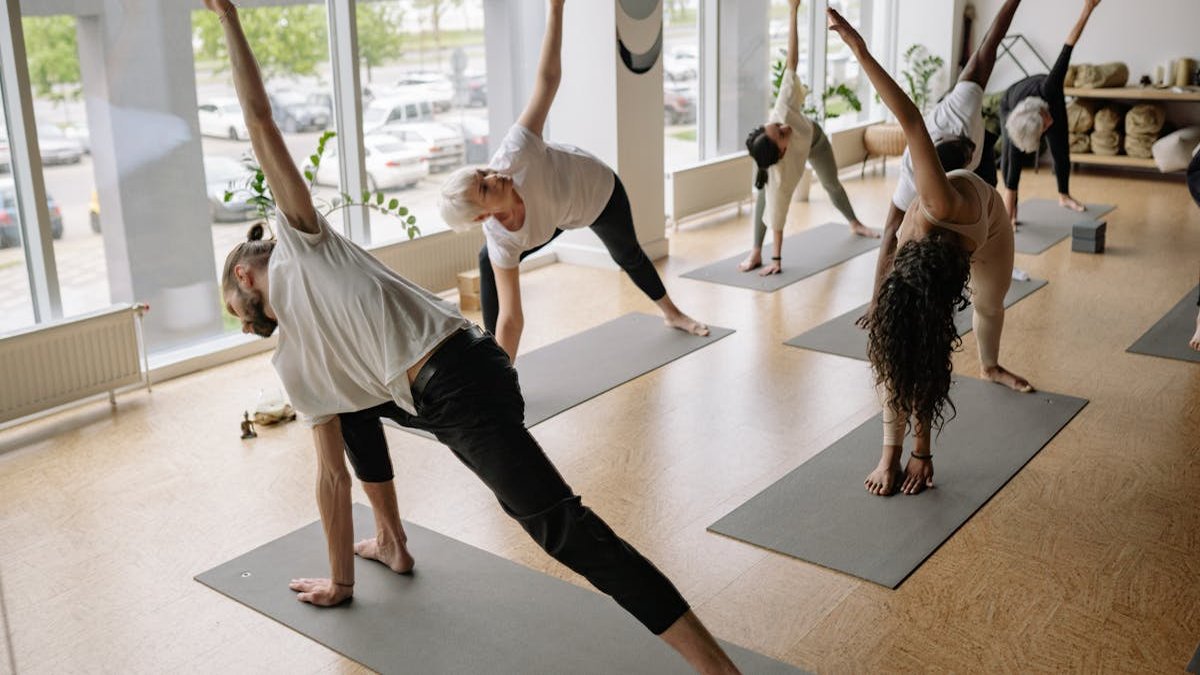
By week two, you will add three standing poses to build leg strength and balance. Each session increases to 20 minutes. Perform the week 1 floor sequence, then add these standing poses:
- Mountain Pose (hold 60 seconds): Stand with feet hip-width apart, arms at sides, and engage your thighs. Lift your chest and relax shoulders.
- Warrior I (hold 45 seconds each side): Step one foot back, bend the front knee to 90 degrees, and raise arms overhead. Keep the back heel pressed down.
- Tree Pose (hold 30 seconds each side): Shift weight to one foot, place the other foot on your inner calf or thigh, and bring hands to prayer position at your chest.
Practice the standing poses on days 8 through 14. If you wobble in Tree Pose, place your foot on your ankle instead of your thigh—never on the knee joint. Use a wall for support if needed. By the end of week two, you should feel more grounded and confident on one leg.
Week 3: Introduce Balance Transitions and Hip Openers
Week three links poses together in short flows and adds hip-opening stretches. Sessions last 22 minutes. Begin with 3 minutes of ujjayi breathing, then perform the following sequence on days 15 through 21:
- Sun Salutation A (3 rounds): Move through Mountain, Forward Fold, Half Lift, Plank, Chaturanga (knees-down version), Upward Dog, Downward Dog, and step back to Forward Fold. Rest 30 seconds between rounds.
- Warrior II (hold 45 seconds each side): From standing, step feet wide, turn right foot out, bend right knee, and extend arms parallel to the floor. Gaze over the right hand.
- Bound Angle Pose (hold 90 seconds): Sit, bring soles of feet together, and gently press knees toward the floor. Breathe into the inner hips.
- Garland Pose (hold 60 seconds): Squat with feet wider than hips, bring palms together at chest, and press elbows against inner knees.
You may notice increased soreness in the hips and shoulders. This is a sign of tissue adaptation. If you feel sharp pain in the knees during Garland Pose, place a folded towel under your heels.
Week 4: Link Everything into a Full Flow
The final week combines all learned poses into a continuous 25-minute flow. Perform this sequence on days 22 through 30:
- Breath work (2 minutes)
- Cat-Cow (5 cycles)
- Child’s Pose (45 seconds)
- Sun Salutation A (5 rounds, no rest between rounds)
- Warrior I (45 seconds each side)
- Warrior II (45 seconds each side)
- Tree Pose (30 seconds each side)
- Seated Forward Fold (60 seconds)
- Bound Angle Pose (90 seconds)
- Supine Twist (45 seconds each side)
- Corpse Pose (5 minutes)
By day 30, you should be able to hold each pose with steady breath and proper alignment. Celebrate your progress by noting one improvement in flexibility or balance. Many beginners find they can touch their toes without strain or stand on one leg for a full minute by this point.
“Consistency matters more than intensity in the first month of yoga. A daily 15-minute practice builds neuromuscular coordination faster than a single 60-minute class each week.”
— Dr. Sarah Collins, physical therapist and certified yoga instructor
Tracking Progress and Modifying Poses Safely
Use a simple journal or note on your phone to record each day’s session. Note the date, how you felt before practice (energy level 1–10), and any discomfort. This helps you identify patterns—for example, if your lower back feels tight after seated forward folds, you may need to bend your knees more.
Modifications are not failures. If a pose causes pain, try these adjustments:
- Knee pain: Place a folded blanket under your knees in kneeling poses.
- Wrist pain: Make fists instead of flat palms in tabletop position, or use yoga wedges.
- Hamstring tightness: Keep a micro-bend in the knees during forward folds.
Never bounce into a stretch—hold each position statically. Aim for 50 to 70 percent of your maximum stretch intensity. Over time, your range of motion will increase naturally.
Frequently Asked Questions
Common questions about yoga and mobility
Do I need special equipment for this 30-day yoga program?
No. You only need a yoga mat (or a non-slip surface) and comfortable clothing. A firm pillow or rolled towel can substitute for blocks or straps if needed.
What if I cannot touch my toes or hold a pose for the full time?
That is normal. Keep a slight bend in your knees and hold poses for as long as comfortable—even 20 seconds counts. Your flexibility will improve with daily practice.
Can I do this program if I have lower back pain?
Yes, but avoid deep forward folds and backbends. Focus on Cat-Cow, Child’s Pose, and gentle twists. If pain worsens, consult a healthcare provider before continuing.
How do I know if I am breathing correctly during poses?
Inhale through your nose for 4 counts, exhale through your nose for 6 counts. Your belly should rise on the inhale and fall on the exhale. If you feel breathless, shorten the hold time.
Related Articles
Start Today
Completing this 30-day yoga program gives you a solid foundation in flexibility, balance, and mindful movement. You now have a repeatable routine that you can continue or expand with longer sessions. To maintain progress, aim for at least three sessions per week after day 30. Consider adding one new pose every two weeks—such as Triangle Pose or Bridge Pose—to keep your practice evolving.